VoltBuilder for Windows
VoltBuilder can create Windows executables, using almost the identical setup as Android and iOS. No changes need to be made to your actual project. The build results in a standard .appx file. It can make both debug and release builds: the release builds are signed.
You may need to review your list of plugins. Check to make sure they have been built for Windows. Any valid Windows plugin will work - no approval process is needed. If a plugin does not have a Windows version, you’ll need to contact the author to see if one can be supplied.
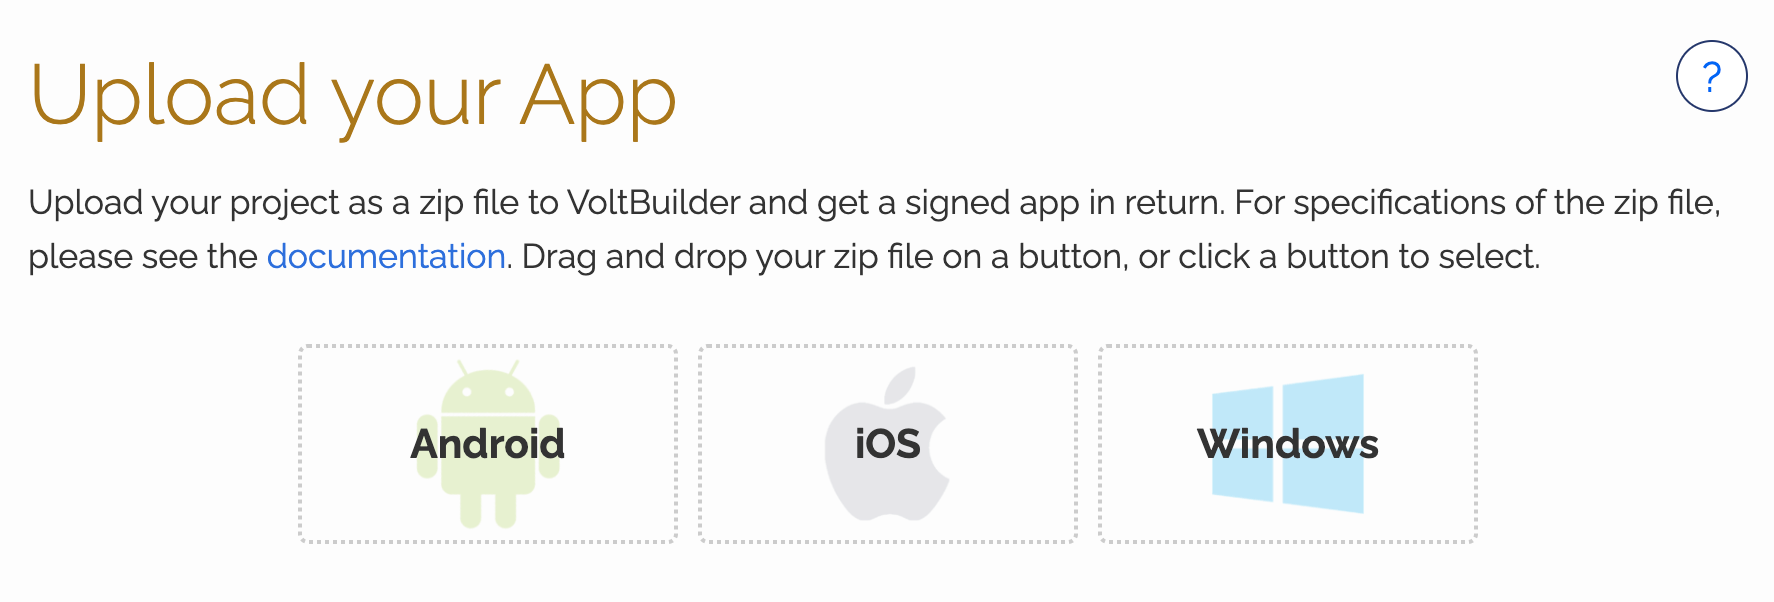
The folder layout for your project is the same. Just drag and drop your zip file onto the Windows box on the Upload form.
Automatic generation of icons and splash screens is not supported. Use the standard Cordova Windows configuration to add these to your project.
Here’s what else may need to be done:
Voltbuilder.json
  "release": "debug",
  "platform": "windows",
This will use a built-in certificate. If you want to use your own certificate, you need these lines (See “Signing” below on generating certificates.):
{
  "winPackageCertificateKeyFile": "certificates\\windows_release.pfx",
  "winPackageThumbprint": "MYTHUMBPRINT0000F5E4664CC1CED8037C206FB8",
  "winPassword": "myPassword",
  "winPublisherId": "CN=myCompany",
  "release": "release"
}
Config.xml
These lines are optional:
<platform name="windows">
  <preference name="windows-identity-name" value="IdentityName.MyCompany"/>
  <preference name="WindowsStorePublisherName" value="My Company"/>
  <preference name="WindowsStoreDisplayName" value="My Company"/>
  <preference name="windows-appx-target" value="uap"/>
  <preference name="windows-target-version" value="10.0"/>
  <preference name="windows-arch" value="anycpu"/>
  <preference name="WindowsDefaultUriPrefix" value="ms-appx-web://"/>
  <preference name="WindowsToastCapable" value="true"/>
  <splash src="res/screens/windows/splashscreen.scale-100.png" width="620" height="300"/>
  <splash src="res/screens/windows/splashscreen.scale-125.png" width="775" height="375"/>
  <splash src="res/screens/windows/splashscreen.scale-150.png" width="930" height="450"/>
  <splash src="res/screens/windows/splashscreen.scale-200.png" width="1240" height="600"/>
  <splash src="res/screens/windows/splashscreen.scale-400.png" width="2480" height="1200"/>
  <icon src="res/icons/windows/logo.png" width="150" height="150"/>
  <icon src="res/icons/windows/smalllogo.png" width="30" height="30"/>
  <icon src="res/icons/windows/storelogo.png" width="50" height="50"/>
  <icon src="res/icons/windows/Square44x44Logo.scale-100.png" width="44" height="44"/>
  <icon src="res/icons/windows/Square44x44Logo.scale-240.png" width="106" height="106"/>
  <icon src="res/icons/windows/Square70x70Logo.scale-100.png" width="70" height="70"/>
  <icon src="res/icons/windows/Square71x71Logo.scale-100.png" width="71" height="71"/>
  <icon src="res/icons/windows/Square71x71Logo.scale-240.png" width="170" height="170"/>
  <icon src="res/icons/windows/Square150x150Logo.scale-240.png" width="360" height="360"/>
  <icon src="res/icons/windows/Square310x310Logo.scale-100.png" width="310" height="310"/>
  <icon src="res/icons/windows/Wide310x150Logo.scale-100.png" width="310" height="150"/>
  <icon src="res/icons/windows/Wide310x150Logo.scale-240.png" width="744" height="360"/>
</platform>
You can also have VoltBuilder generate icons for you and it will update your config.xml automatically.
Plugins
Plugins have to be built for Windows - many of the plugins you are used to using on iOS and Android do not exist on Windows.
Cordova has a tool to look up plugins. It’s possible a plugin will work even if it is not on this list.
VoltBuilder for Windows does not check plugins against a green list - all are automatically approved.
Signing
For debug builds, no certificate is needed.
For release, you will need a certificate. You’ll also need to add the information about it to voltbuilder.json.
Here’s how to make a certificate: (Note that the instructions on the Cordova site are obsolete, these instructions are derived from Microsoft’s guide)
Using PowerShell, enter the following:
New-SelfSignedCertificate -Type Custom -Subject "CN=MyCompany" -KeyUsage DigitalSignature -FriendlyName "My Company" -CertStoreLocation "Cert:\CurrentUser\My" -TextExtension @("2.5.29.37={text}1.3.6.1.5.5.7.3.3", "2.5.29.19={text}")

$password = ConvertTo-SecureString -String myPassword -Force -AsPlainText
Output will be something like this:
  PSParentPath: Microsoft.PowerShell.Security\Certificate::CurrentUser\My

Thumbprint                                Subject
----------                                -------
804016A7B28492A5B29266A20373FE42ACED49CE  CN=MyCompany
This puts the cert into ‘Certificates - Current User’, in your Windows internal certificate folder, under both ‘Personal’ and ‘Trusted Root Certification Authorities’. Next, we need to export it to create an actual file. Copy the thumbprint from the output above and replace REPLACEWITHMYTHUMBPRINT with your thumbprint in the following PowerShell command:
Export-PfxCertificate -cert "Cert:\CurrentUser\My\REPLACEWITHMYTHUMBPRINT" -FilePath $HOME\windows_release.pfx -Password $password
This will create windows_release.pfx. Put it into the project’s certificates folder.
Add these lines to voltbuilder.json:
  "winPackageCertificateKeyFile": "certificates\\windows_release.pfx",
  "winPackageThumbprint": "REPLACEWITHMYTHUMBPRINT",
  "winPassword": "myPassword",
  "winPublisherId": "CN=MyCompany",
  "release": "release"
Building
You can now submit to Windows by dragging your zip file into the Windows zone on the Upload page.
You can also submit using the API.
Installing
- Right click on appx file
- Click Properties
- Click Digital Signatures
- Select Signature from the list
- Click Details
- Click View Certificate
- Click Install Certificate
- Select location: Local Machine
- Allow the app to make changes to your device.
- Select Place all certificates in the following store:
- Browse to Trusted Root Certification Authorities and click OK.
- Confirm the prompts and close all the windows you just created.
- Double click on the appx file to install the application.
To avoid these steps, you will need to purchase a code signing certificate from a 3rd party.