Tutorial - Using VoltBuilder
It’s easy to start using VoltBuilder. The following video shows the first few steps of this tutorial and will help you get started with uploading your projects.
1a. Prepare your files (Cordova)
VoltBuilder expects your app to be in a simple file structure. Your upload files should look like something like this (for Cordova. If you’re building for Capacitor, see below)
Project Root
├-- config.xml
├-- res
└-- www
(Other formats are possible - this is typical. You can download a template here. This template also acts as a sample project, so if you don’t have a project ready to go yet, you can use it to follow along with the tutorial)
1b. Prepare your files (Capacitor)
VoltBuilder expects your app to be in the standard Capacitor structure. Your upload files should look like something like this:
Project Root
├-- angular.json
├-- capacitor.config.json
├-- e2e
├-- ionic.config.json
├-- karma.conf.js
├-- LICENSE
├-- ngsw-config.json
├-- package-lock.json
├-- package.json
├-- README.md
├-- src
├-- tsconfig.app.json
├-- tsconfig.json
└-- tsconfig.spec.json
2. Upload
Log In/Sign Up to VoltBuilder.
Zip your files together, then head to VoltBuilder’s Upload page.
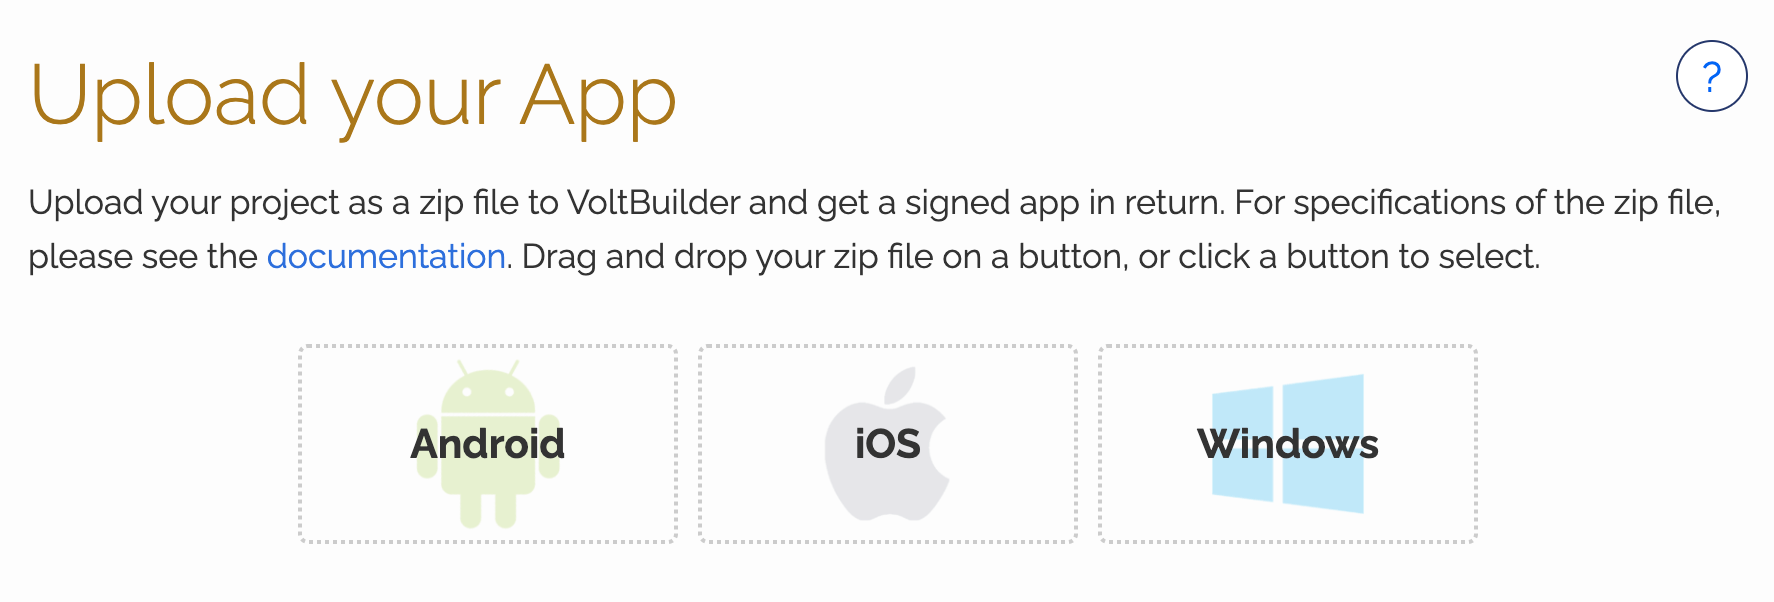
Drag and drop your zip file into the Android box - our first build is for Android.
If you’re using the Free Plan, this will be the only available option for you. Every paid plan has access to the other build options. If you’d like to try them out for yourself, we have a 15-day free trial for all paid plans.
The process will begin automatically once you upload your zip file, and might take a minute or two to complete, so sit back and relax!
3. Download and Run
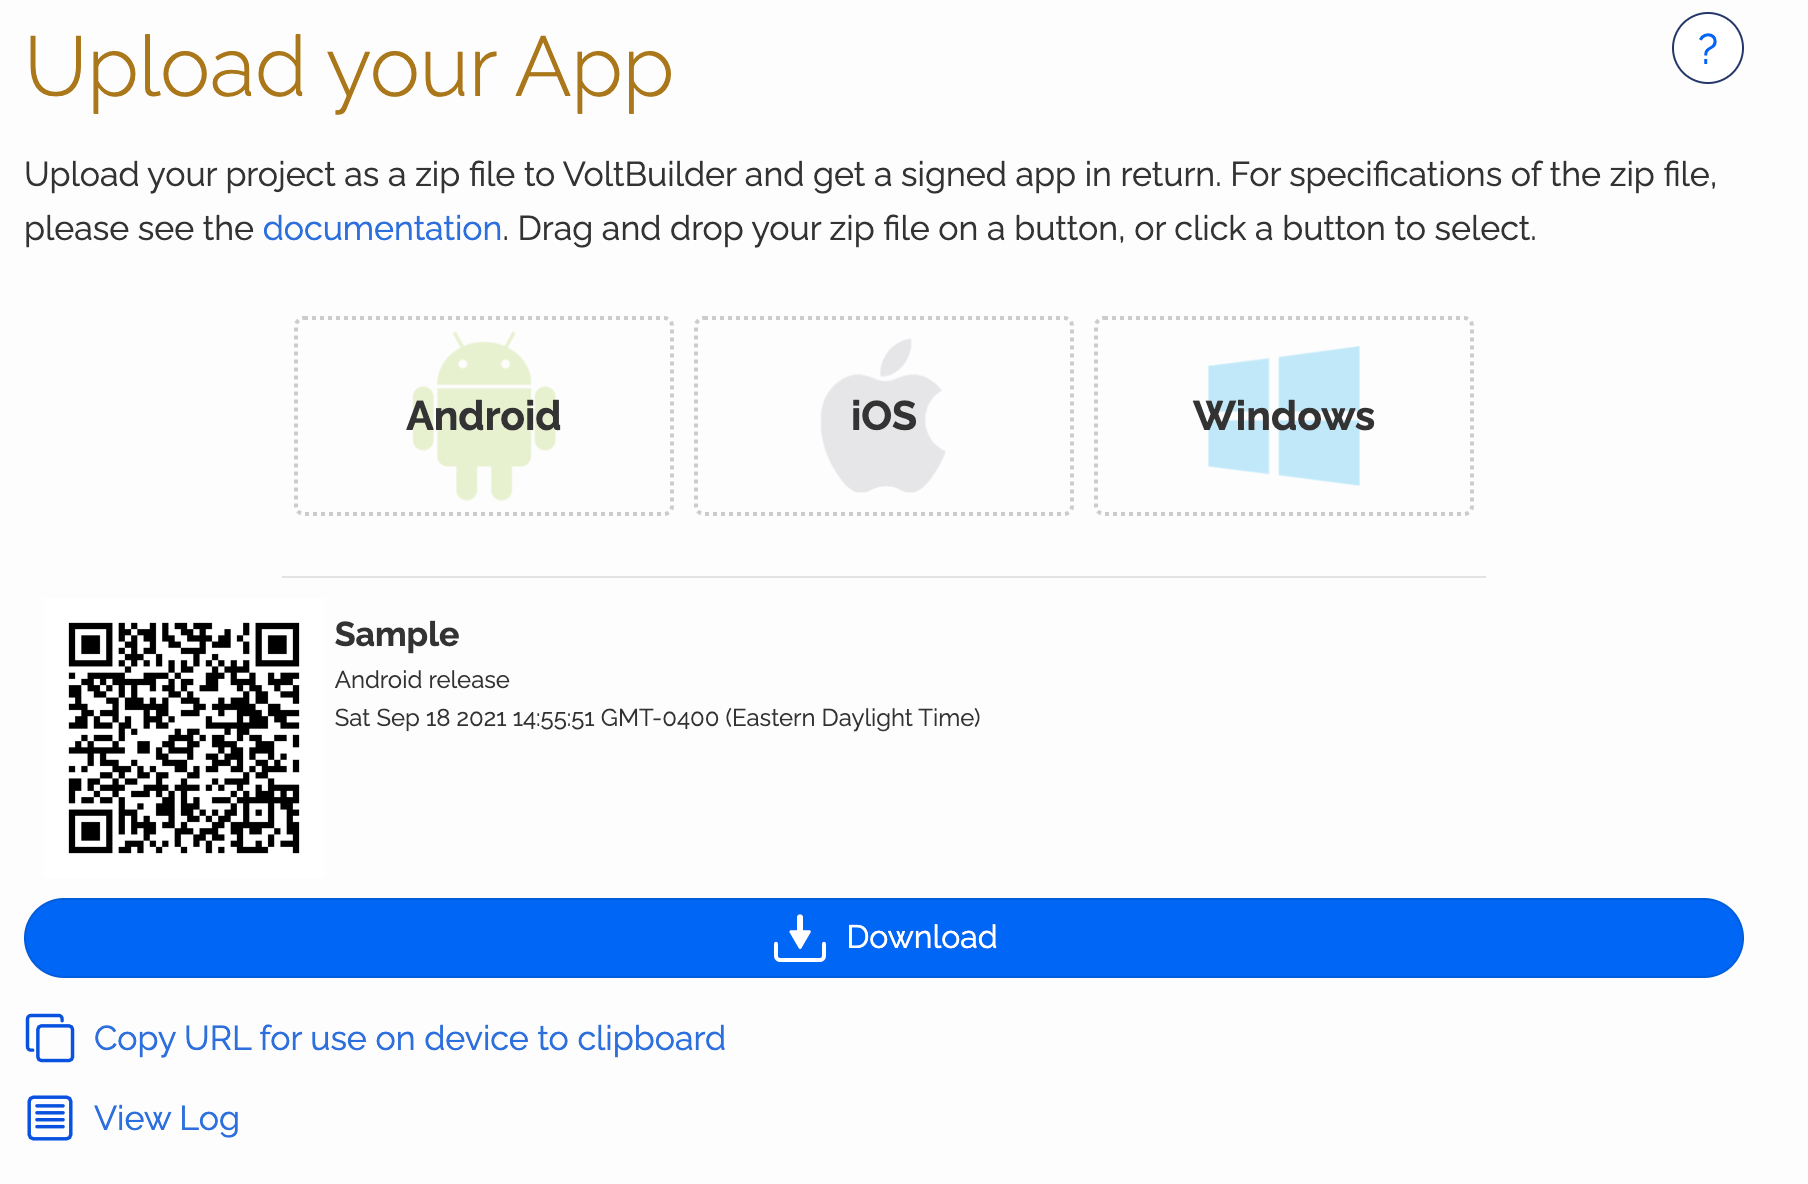
That’s it! You’ve done your first build. You can now install and run on a device.
If VoltBuilder detects a problem, you’ll get a message which should help you fix it. Once it’s fixed, upload again.
VoltBuilder uses the latest versions of Capacitor and Apache Cordova. Some actions which were valid for a different service will no longer work. Don’t worry, VoltBuilder will let you know if it finds anything. Check the Docs for more information.
If you’re using the Free Plan, you now know everything you need to know to use VoltBuilder!
4. Certificates and Signing
So far, we have done an Android Debug build, which does not require any certificates, but you will need them to build for Android Release or for iOS.
Your certificates remain securely on your own computer, except when your app is actually being built. VoltBuilder will delete all of your uploaded files soon after the build is complete.
To add certificates to your upload, you’ll need to add a folder and a file to your upload. To build for iOS or Android release, your certificate files will need to be in the certificates folder. Passwords and filename will be in the voltbuilder.json.
Project Root
├-- certificates (new!)
├-- config.xml
├-- res
├-- voltbuilder.json (new!)
└-- www
certificates is a folder for your certificate files.
voltbuilder.json is a file which has build information for VoltBuilder.
5. Doing an Android release build.
You’ll need a keystore file to make a signed Android build. If you don’t have one, you can make one for free using VoltSigner. You can use the same one that you used for other build services. We’re calling ours android.p12, but any name is fine. Put it in the certificates folder:
Project Root
├-- certificates
│   └-- android.p12 (new!)
├-- config.xml
├-- res
├-- voltbuilder.json
└-- www
Here’s what goes into the voltbuilder.json file:
{
  "androidAlias": "key0",
  "androidAliasPassword": "mypassword",
  "androidKeystore": "certificates/android.keystore",
  "androidKeystorePassword": "mypassword",
  "release": "release"
}
The values for androidAlias, androidAliasPassword and androidKeystorePassword are what you entered when you created the keystore file.
androidKeystore is the location of the certificate.
release is debug or release, depending on what kind of build you are doing. If you’re following along with the Sample file, make sure to change this so that you can create a release build!
Zip the files together and upload again. You’ll get an Android Release build.
6. Doing an iOS release build.
iOS builds work the same way as Android. Add your certificates to the certificates folder, and identify them in the voltbuilder.json file:
{
  "iosDevP12": "certificates/ios_development.p12",
  "iosDevP12Password": "mypassword",
  "iosDevelopment": "certificates/development.mobileprovision",
  "iosDistP12": "certificates/ios_distribution.p12",
  "iosDistP12Password": "mypassword",
  "iosDistribution": "certificates/distribution.mobileprovision",
  "iosPackageType": "app-store",
  "release": "release"
}
If you don’t have a certificate already, you can make one for free using VoltSigner.
You can put both development and distribution certificates into the folder. As with Android, the same certificates you use for other build services will work for VoltBuilder. Both Android and iOS fields can be in voltbuilder.json at the same time.
release can be debug or release. If it is debug, the iosDev* fields are used. If it is release, the iosDist* fields are used.
Use the iosPackageType to tell VoltBuilder what kind of distribution build to make. It can be ad-hoc, app-store or enterprise.
Upload as usual.
Note: You will need an Apple Developer account to create an iOS build
More
Check out the Troubleshooting page.
For more, check out Support page.